Back to School Photo Frame Craft
Share
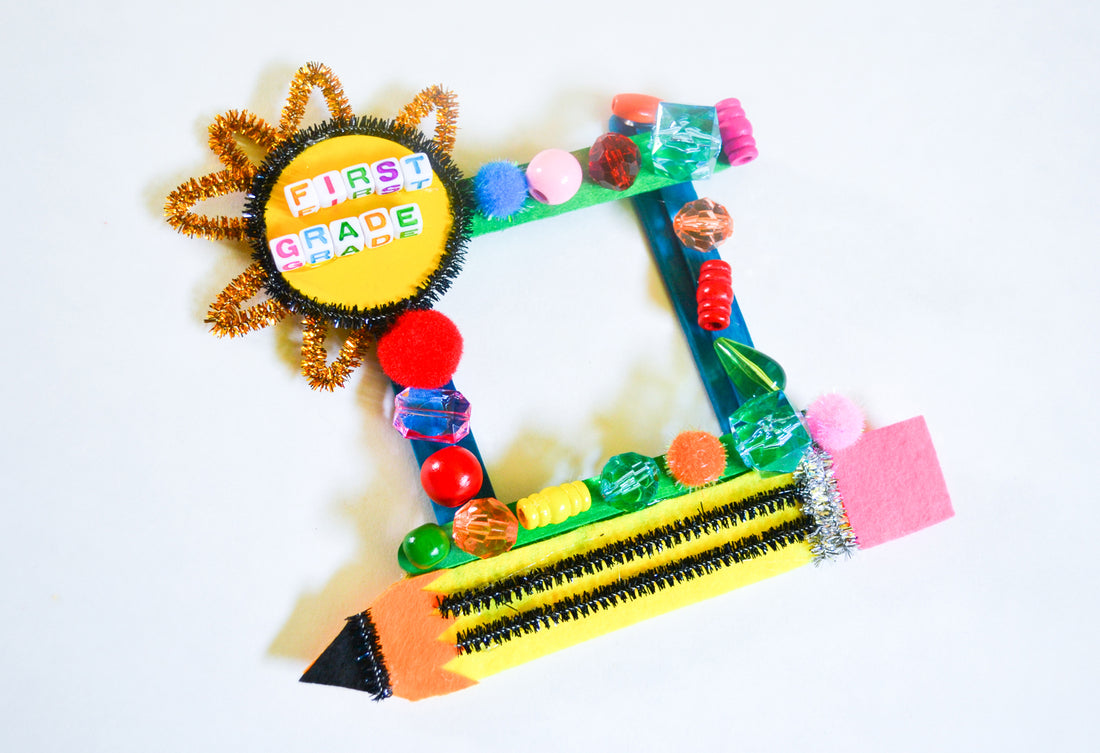
Back to school is such a fun time of year! I remember the excitement I felt every year when we got to go shopping for new school supplies. Now as a parent, I still get those same back to school butterflies as I wait to see what my kids’ year will look like. Finding ways to celebrate and commemorate the new year with crafts has enabled us to bond before they head back to school each year at the end of the summer. This photo frame is a fun DIY that you and your child can create together using the Arts and Crafts Library. Add a photo from the first day of school and you can keep it for years to come to remember this special time!
Materials Needed:
- 8 craft sticks
- Yellow, orange, black, and pink felt
- 4 black fuzzy sticks
- 1 silver fuzzy stick
- 1 wooden disc
- Beads (including alphabet beads)
- Scissors
- Hot glue gun

Instructions:
Step 1
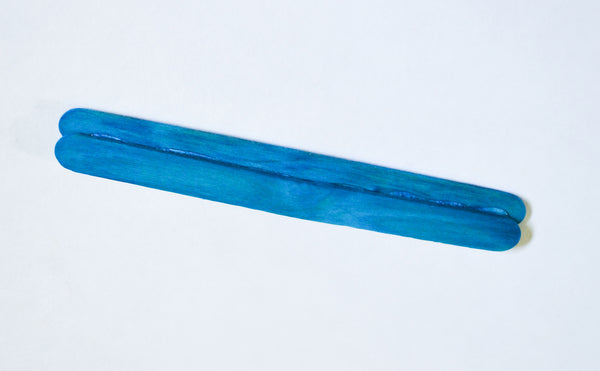
Use your hot glue gun to glue your crafts sticks into pairs with the long sides touching. Next, glue all 4 pairs of craft sticks together into a square frame shape.

Step 2
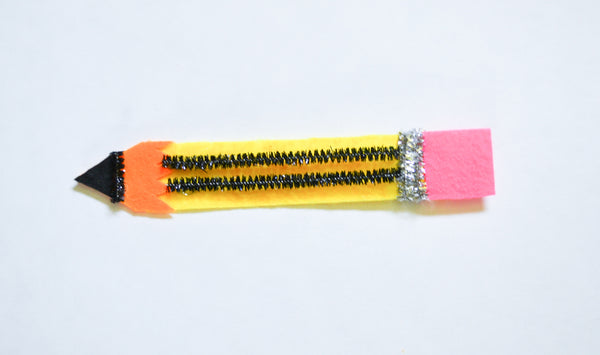
Next, create a felt pencil to decorate your frame. First, cut your piece of yellow felt in half lengthwise. Cut one end into a point. Cut a small square of pink felt. Cut your orange felt and black felt into the shape of the point of your pencil. Finally, cut your silver fuzzy stick in half.

Step 3
Carefully use hot glue to assemble your pencil. First, glue your orange and then black felt onto the point of your pencil. Next, glue two of your black fuzzy sticks along the length of the pencil to create stripes. Glue the pink square onto the end of the pencil as an eraser. Finally, glue the two pieces of silver fuzzy stick between the pink eraser and the yellow body of the pencil. Trim off any excess.

Step 4
Next, find alphabet beads that spell out the grade your child is entering, their name, their teacher’s name or whatever you would like your frame to say! Glue these onto a wooden disc. Glue your remaining two black fuzzy sticks around the edge of the disc and trim off any excess.

Step 5
Glue the pencil and disc onto your craft stick frame. We glued the pencil along the bottom and the disc in one of the top corners. Be sure not to cover up too much of the space inside your frame.

Step 6
Decorate the rest of your frame with beads! Use hot glue to attach beads to your frame.

Once your frame is finished, you are already to add a back to school photo! Cut your photo to the right size and glue or tape it onto the back of your frame. You can use picture hanging strips to hang your frame on the wall, or glue a magnet to the back to hang it on your fridge! We hope this project helps you celebrate the start of a new school year with your child.
Emily Limer is a mom of three and teacher from North Carolina. She loves getting creative with her kids - at home and school - and has a passion for creating with recycled materials!

