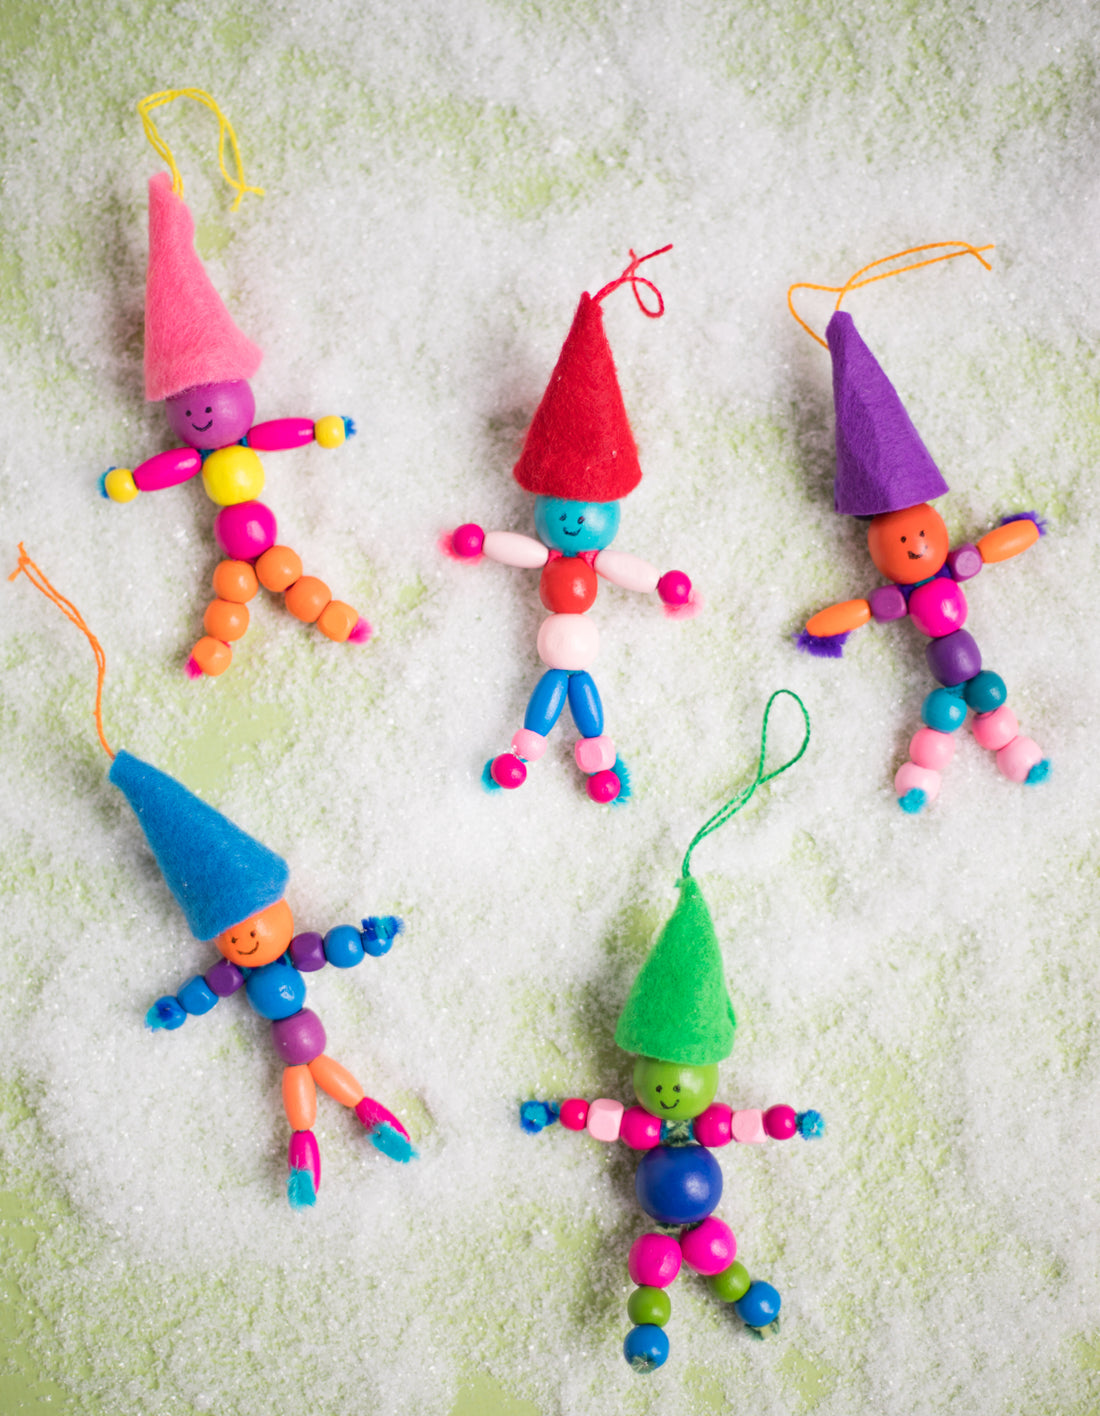
Beaded Elf Ornaments DIY
Share
These are the happiest little elves you’ve ever seen thanks to colorful beads, fuzzy sticks, and felt from our Arts & Crafts Library. This craft kit has all the supplies you’ll need to make several elves to hang from your tree. Just follow the simple instructions below!

Supplies
- Arts & Crafts Library (beads, fuzzy sticks, felt sheets, embroidery floss, needle, glue and scissors)
- Buttons
Steps

1. Run a fuzzy stick through two holes in a button to form the body of your elf.

2. Bring the two ends of the fuzzy stick together and string a large bead through them to form the head.

3. Cut another fuzzy stick in half and push it up between the large fuzzy stick legs to make arms for your elf.

4. Add a couple large beads to create the body and then smaller beads for the arms and legs.

5. Trim the ends of your fuzzy sticks and wrap each end around the back of a bead to hold it in place.

6. Make a little hat for your elf by cutting a fan shape out of a fuzzy stick and curving it into a hat. Use glue to hold in place. Hot glue works best!
7. Create a hanger for your elf by using a needle to thread a length of embroidery floss through the fuzzy stick at the top of the button.

8. Run the embroidery floss through the top of the hat and tie into a loop to create a hanger. You can secure the hat to the top of the elf’s head with a little glue if you want.

9. Finish by adding a sweet little face to your elf with a marker and hang it from the tree!

* * *
Shop our Arts & Crafts Library here!

