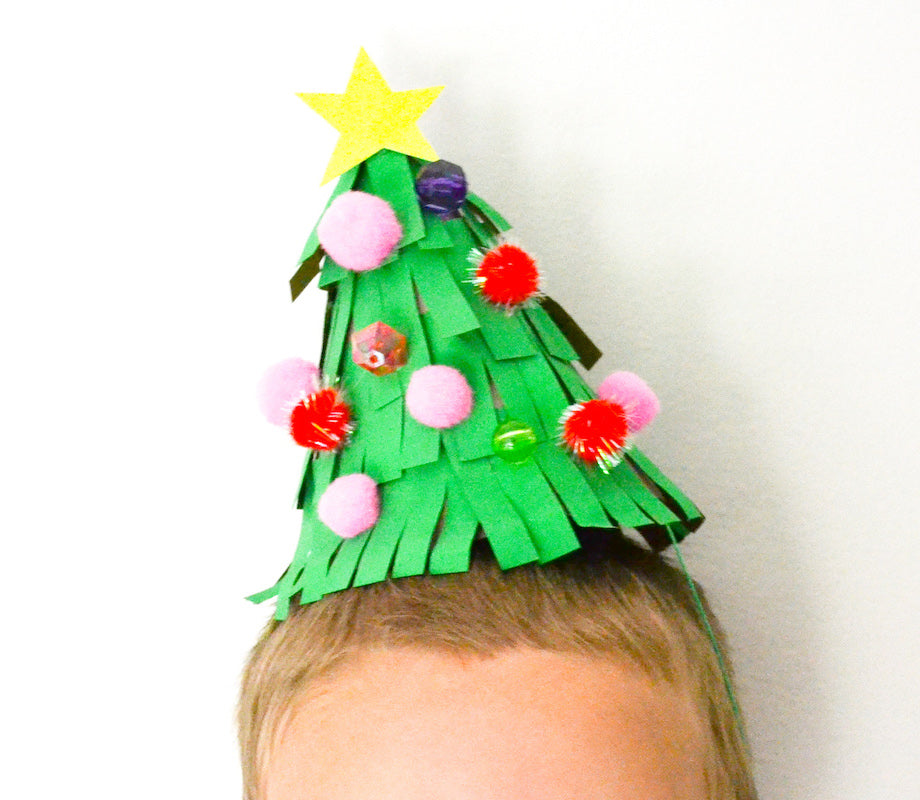
Christmas Tree Hat
Share
Make your own Christmas tree party hat using the Rainbow Craft Kit! This hat is simple to make and will surely be a hit, no matter what form your parties take this year. Read below for the full tutorial to make your own.

Materials:
-
Brown paper grocery bag
-
Paintbrush
-
Thin cardboard (like from a cereal box) or cardstock paper
-
A large bowl
-
Pen or pencil
-
Scissors
-
Hot glue gun (always ask an adult for help using a glue gun!)

How to Make It:
Step 1
Paint one side of a brown paper grocery bag with green paint. Allow the paint to dry completely before moving on.
Step 2
Trace a large ½ circle onto your thin cardboard or cardstock using a bowl as a guide. I used the inside of a recycled cereal box as my cardboard. Cut out the ½ circle and roll it into a cone shape. Glue down the edge of the cone using hot glue.


Step 3
Cut your green paper bag into strips, each about 2-3 inches wide. Use your scissors to cut strips into fringe. Use hot glue to glue the first strip at the base of the cone with the fringe hanging down. Keep gluing fringe around the cone, one strip at a time, working your way up until the whole cone is covered.


Step 4
Decorate your tree! The Rainbow Craft Kit has so many fun items you can use to decorate your tree. I cut a star from the sparkly paper in the kit and glued it to the top of the tree. I also used pom poms and beads as ornaments! You can use any colors and items you like to make your party hat special.

Step 5
If you want to use your tree as a decoration, you can stop after Step 4! To make it into a party hat, cut two long pieces of string from the Rainbow Craft Kit and glue them to the sides of your tree. Once the glue dries, you can use these to tie your party hat under your neck!

