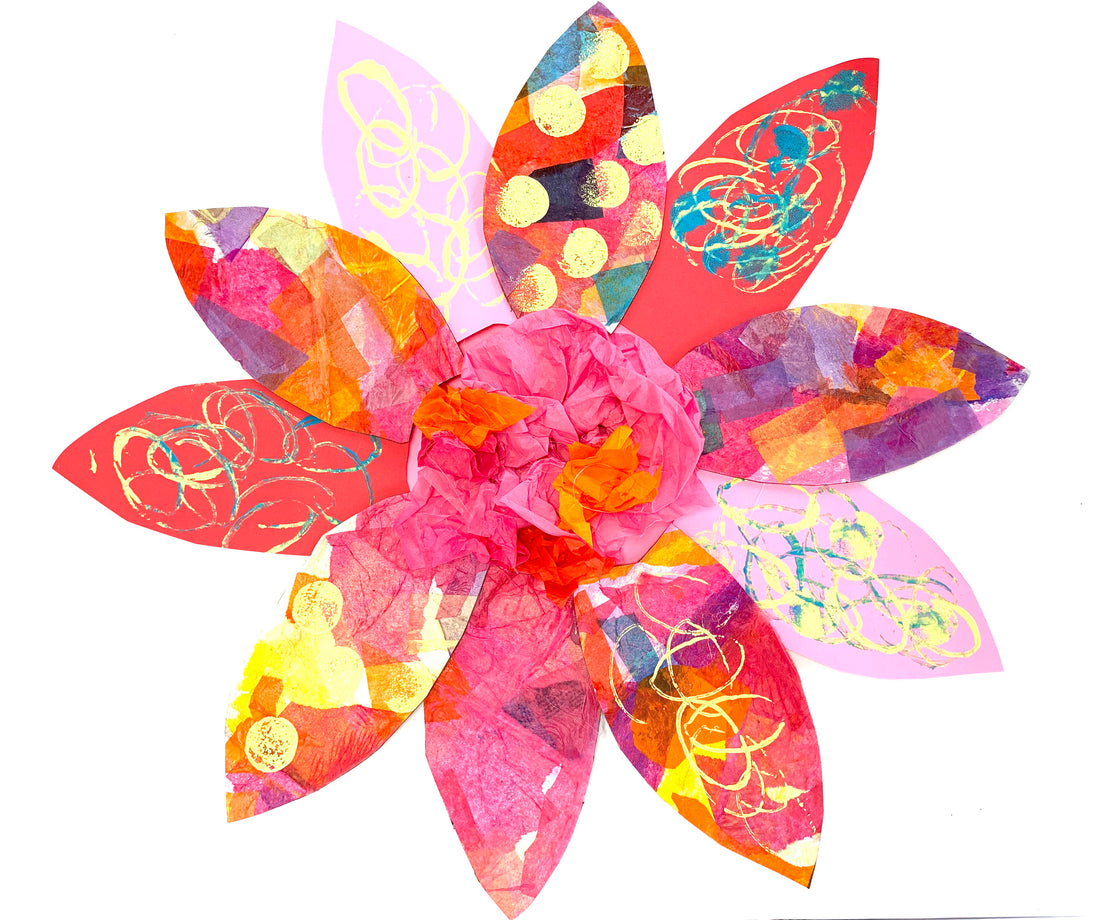
DIY Cardboard Flower Collage
Share
Transforming old arts and crafts projects into new ones is a relatively simple way to reduce waste and teach children about creativity and resourcefulness. You can easily recycle old kids craft projects into new ones with a few simple tricks.
This Easter egg craft is a cardboard cut out from an old Amazon box that was spray painted white and then covered with tissue paper. The result is a sort of modge podged look, without the odor, that works quite well! With Easter long gone, we decided it was time to reuse the cardboard to make this colorful flower collage!

Supplies
- cardboard
- scissors
- glue
- tissue paper
- acrylic paint
- white spray paint (optional)
- hot glue gun (optional)

Instructions:
-
To make the flower, start with a piece of cardboard. You can either paint it white or try using white spray paint to give it a nice background with which to work on. Painting the cardboard white ahead of time will make the tissue paper colors pop a little more, but it is not totally necessary. If you do decide to use spray paint, the good news is that spray paint dries FAST!
-
While you’re waiting for the paint to dry, have children rip different colored tissue paper up into pieces. Children typically love this process, and there is no specific method to it, so just let them go to town!
-
Once the cardboard is ready to go, layer the tissue paper squares on top with glue. Spread the glue on top of the tissue paper, flattening it down to give a smooth appearance. In addition to ripping tissue paper, children also love using glue, so let them have some freedom with this part as well!
-
Once the glue is completely dry and you have a smooth surface to work on, grab a good pair of scissors and cut out your flower petals and the circular center. Start by flipping your cardboard over to the plain side and draw your flower part shapes. Then, cut them out one by one. Try mixing up the cardboard pieces with some colored cardstock to give the flower petals a little variety.

-
Once you are finished cutting all of the flower parts out, decide how you’ll arrange the flower and then glue all of the flower parts together.
-
Next, add some layered details with paint! We love Kid Made Modern’s washable, non-toxic acrylic paints to add a fun pop of color. Children typically love using acrylic paint in general because it is opaque and therefore the colors show up better. If they make a mistake, it is usually easily corrected by painting over. This makes it a good choice for kids in general. Acrylic paint is also fast drying and water based, so clean up is easy.
-
Dip paper towel rolls in various colored paint to make circular prints on top of your petals. Try using sponge paint brushes to add more circular shaped prints. Lastly, use some leftover tissue paper to fill the center of your flower.
When all is said and done, you are left with a recycled piece of children’s art that looks very pretty on display and is guaranteed to brighten up your home!


Jaclyn Ryan is a mom of three, former early childhood educator and blogger. She writes about fun and simple creative projects you can do at home with children at creativefunforkids.com.

