
DIY Hanukkah Countdown
Many people don’t know this, but the traditional gift given for Hanukkah is called “gelt,” which means money in Yiddish. But since the holiday is celebrated at the same time of year as Christmas, gelt has sort of modernized into just gifts of any kind. To keep the history alive, gelt has become the favorite gold-foiled chocolate coins that kids use when they play the dreidel spinning game.
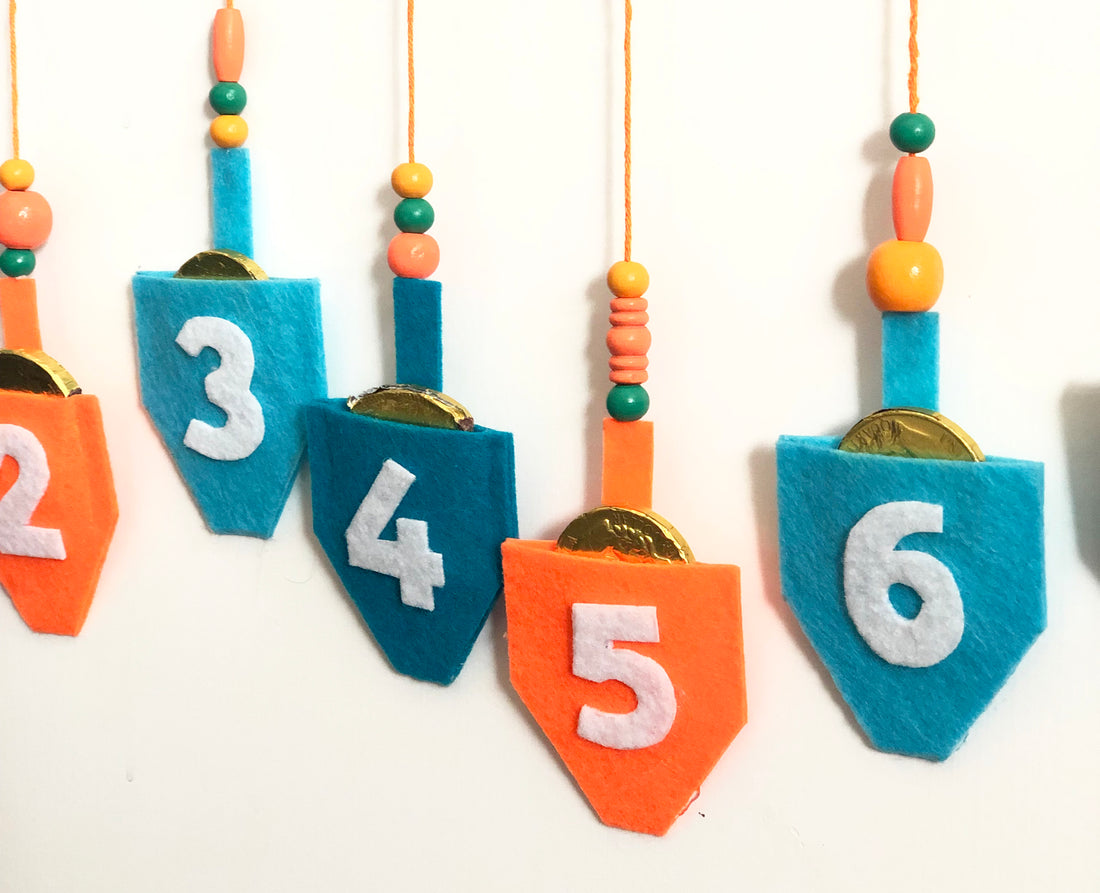
On each night of Hanukkah, kids can pull a piece of chocolate gelt out of these little simple-to-make felt dreidel pockets. Perfect for a sweet treat or some serious dreidel spinning!

What you’ll need from the Arts & Crafts Library:
- Felt
- String
- Wood beads
- Glue
- Scissors
Other materials:
- Stick
- Paint
- Paintbrush
Steps:

1. Draw a line a little less than halfway down on a felt rectangle from the Arts & Crafts Library. Repeat on 7 more pieces of felt.

2. Fold each piece of felt on that line and glue just the sides to make a pocket.

3. Cut the top edge, leaving a small sliver of felt in the middle as the handle.

4. Cut off the bottom 2 corners and glue the edges to form a dreidel shape.

5. Cut the numbers one through eight from felt and glue them onto the dreidels. (You can also let your kids form the numbers using the pipe cleaners in the Library.)

6. Glue string to the backs of each felt dreidel.

7. Thread beads onto the strings.

8. Attach strings to a stick and hang on the wall.

* * *
Post by Amanda Kingloff of Projectkid.com. PROJECT K!D is dedicated to offering families creative and inventive ways to spend unplugged time with kids.
* * *
Shop our Arts and Crafts Library here.
