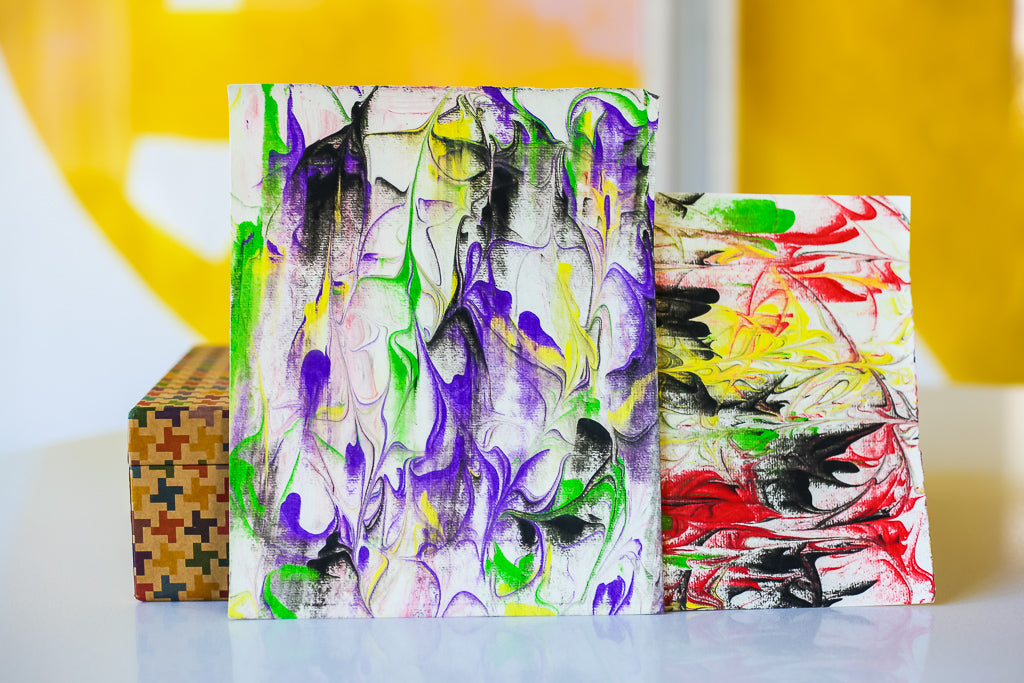
DIY Shaving Cream Marbled Paper
Share
There is a whole range of ways to marble paper, but one of the easiest ways to get started is with shaving cream. And it is so much sensory fun! Just a few household items plus our Studio in a Box Kit will help you make gorgeous marbled paper that can be used for so many purposes -- from gift wrap to background paper on a DIY storybook. Give it a try!
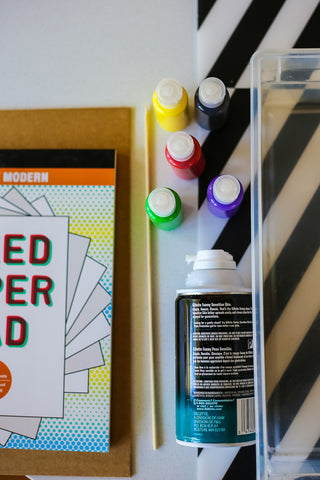
Materials:
- Shaving cream
- Shallow dish or baking pan
- Ruler or straight piece of cardboard (the piece of cardboard from inside the kit is perfect!)
- Wooden skewer or craft stick
- Paper towels or rags
Steps:
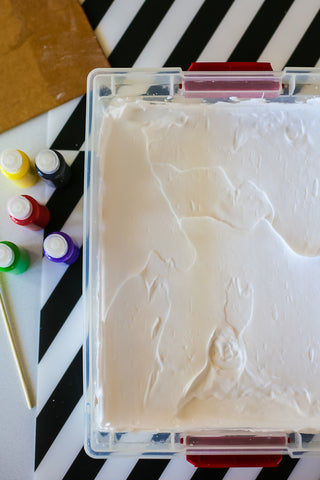
1. Set up dish -- Fill the shallow dish or baking pan with a layer of shaving cream. Use your ruler or cardboard piece to level out the shaving cream and then wipe the ruler clean.
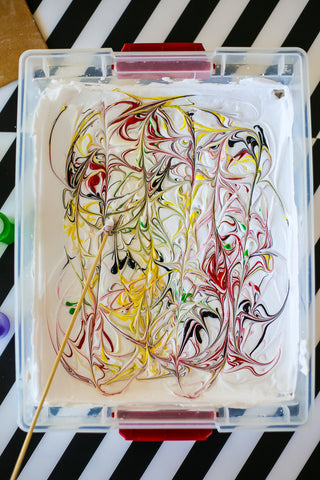
2. Add paint + make pattern -- Pick a few complementary colors of acrylic paint from the kit. Swirl the colors into any pattern you like using the skewer -- try not to stick the skewer too far down through the shaving cream while making the design so that you don't overmix the colors.
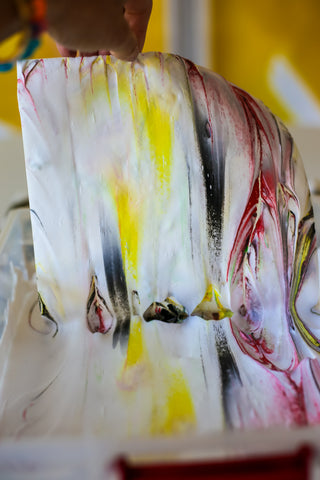
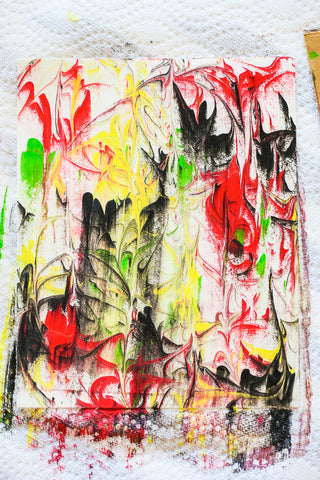
3. Print onto paper -- Pick a sturdy piece of paper from the kit and lay it on top of the pattern. Press carefully and evenly. Then lift the paper up and scrape the shaving cream off using your ruler or piece of cardboard. Check out the marbling!
You can then smooth out the shaving cream, adding more shaving cream and paint as needed, and repeat. Let the print dry fully; you might need to press the dry paper flat by placing some heavy books on it overnight. Use the marbled paper to create other art, gifts, or display as art itself!
***
Shop Our Studio in a Box Kit Here!

