DIY Spinning Paper Ornaments
Share
In collaboration with Handmade Charlotte.
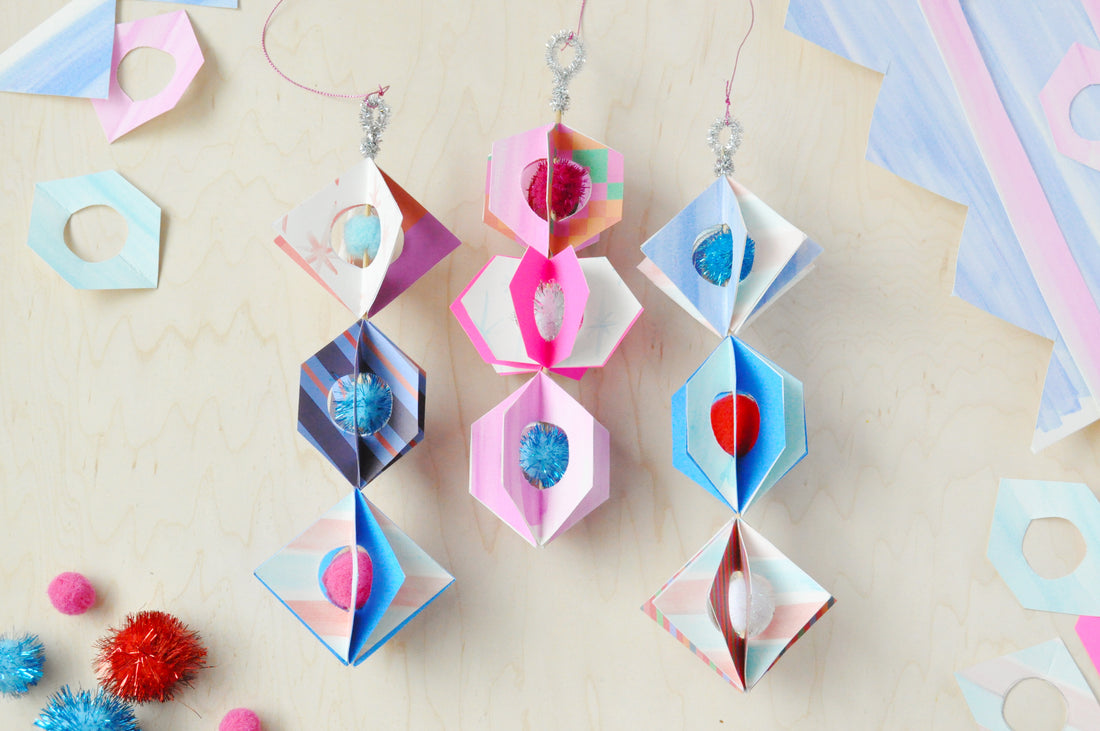
Inspired by retro Christmas decorations, these handmade spinners are sure to catch the attention of guests at your holiday party this year. Hang your spinning paper ornaments in front of a window, or even put them on your Christmas tree for a playful and festive look.
What You Need:
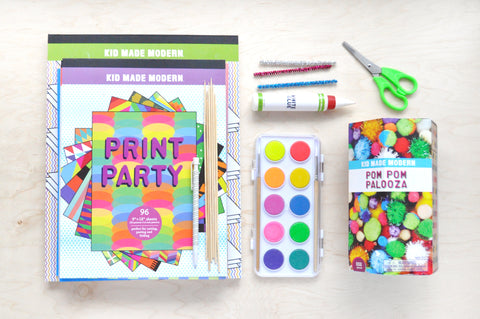
- Print Party Paper Pad
- Watercolor Tablet
- Watercolor Paint
- Wooden skewers
- Pencil
- White glue
- Pom Pom Palooza
- Pipe cleaners
- Scissors
How-To:
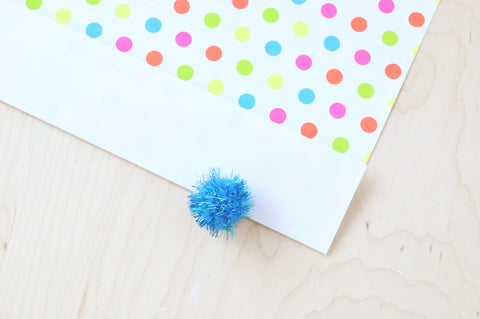
1. Start by taking a sheet of patterned paper and folding the edge over about 2”.
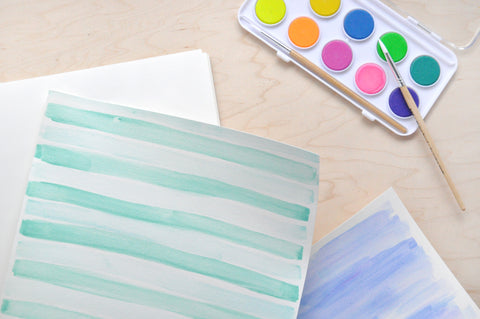
A) You can mix and match patterned paper and also use watercolors to make your own custom patterned paper! Let dry completely before folding.
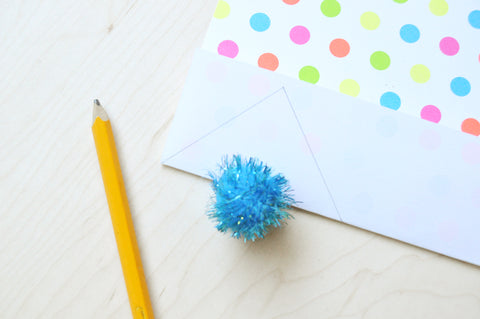
2. Put a pom pom on the fold and draw a geometric shape around it – we did a triangle here.
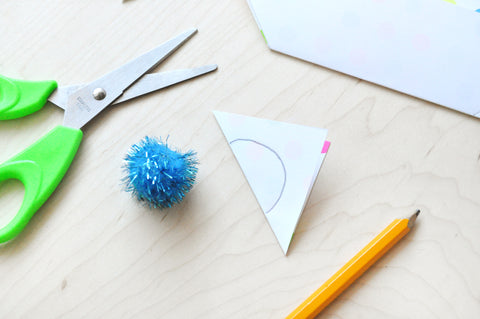
3. Cut out the shape and then trace a half circle slightly bigger than the pom pom onto the fold.
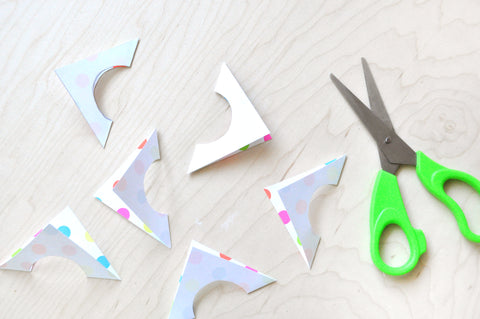
4. Cut out the half circle and then trace this shape 7 times onto paper. You can do this on the same sheet or mix and match with other papers.
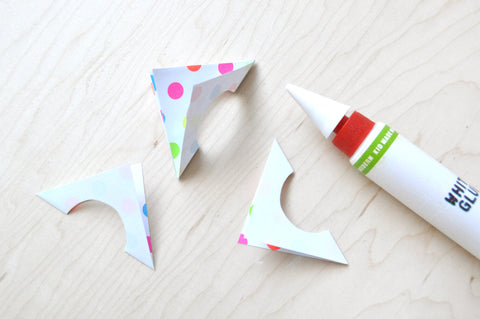
5. Apply a thin layer of glue onto one half of the folded paper shape and attach another one on top, lining up the edges. Repeat this until all 8 pieces are attached in a stack.
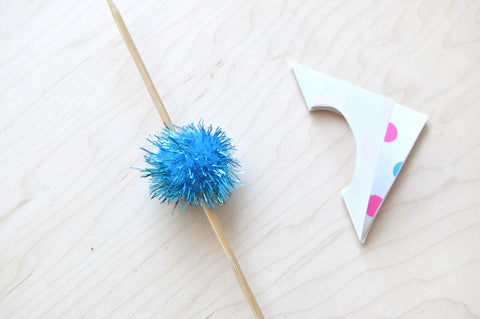
6. Pierce a pom pom onto the skewer and slide it down.
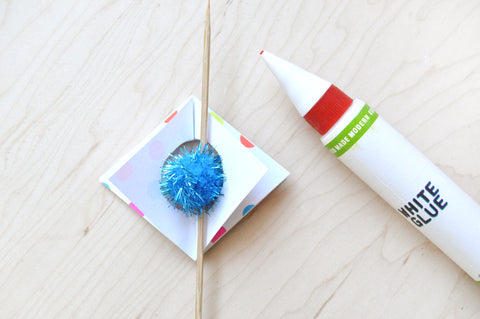
7. Open up the attached folded papers and place around the pom pom. Apple glue onto the one folded side and attach the other side so that the paper now surrounds the pom pom.
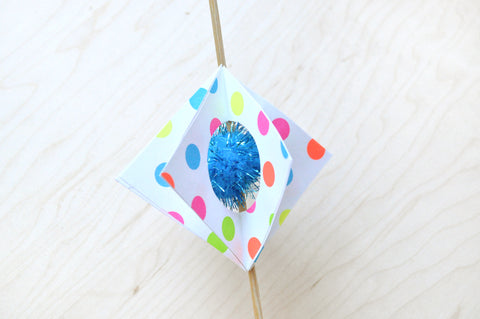
8. It should look like this – open up the paper folds and distribute evenly around the pom. Repeat these steps to add more poms and papers onto each skewer until it’s full.
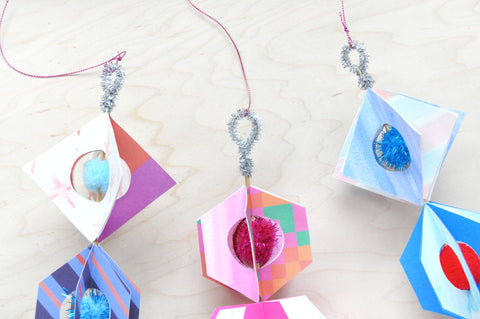
9. Twist a pipe cleaner into a loop and glue to the end of the skewer. Hang from this loop, or tie on a piece of string to hang.
* * *
* * *
Create your own spinning paper ornaments using our Print Party Paper Pad, Artist Pad, Neon Watercolor Set, and Pom Pom Palooza!

