DIY Thanksgiving Placemat
Share
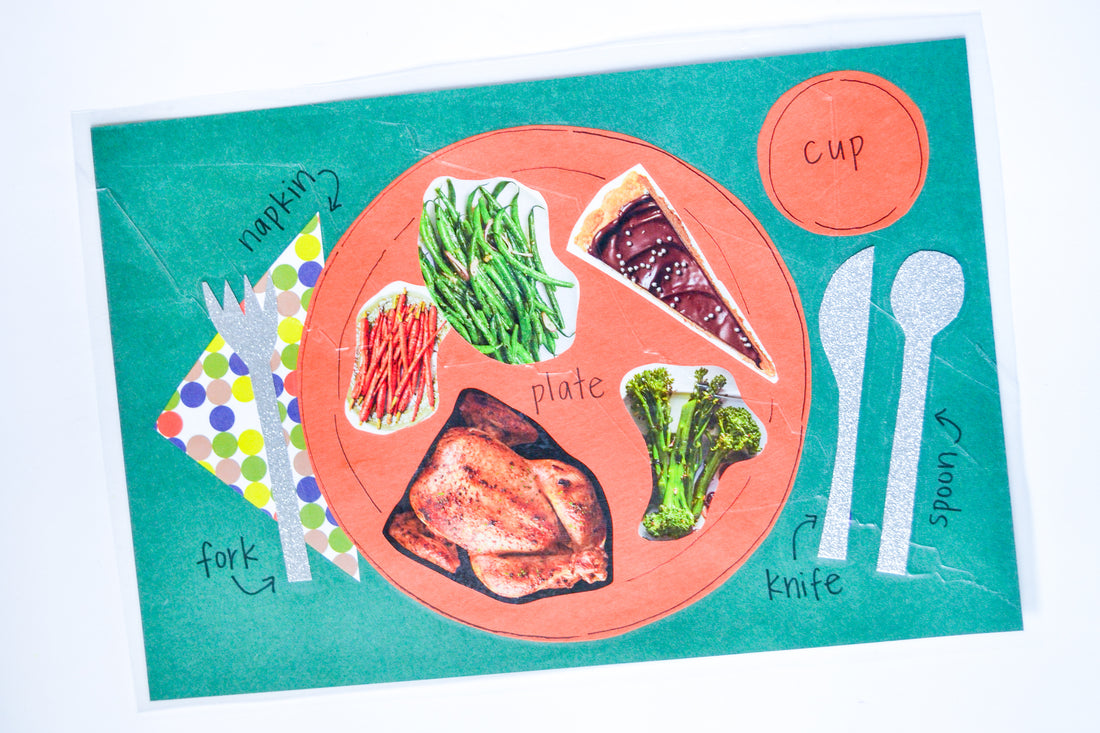
This Thanksgiving Placemat craft is a great addition to any kids’ table! It’s fun and simple to make with recycled magazine photos and provides a great opportunity for younger kids to practice scissor skills.
For older kids, what better way to teach them to set the table! When you’re finished, you can use it as a prop for play or as a real placemat for Thanksgiving dinner. Read below to learn how to make your own.

Materials:
- 1 large piece of construction paper or poster paper
- Food pictures from magazines
- Scissors
- Glue
- Solid and patterned construction paper
- Silver scrapbooking paper
- Black marker
- Clear contact paper

How To:
Step 1
Lay your piece of large construction paper on a flat surface. On another piece of construction paper, trace a plate and a cup. Cut out these two circles. Cut a triangle shape out of patterned construction paper. Lay out your large circle, small circle, and triangle on your large piece of construction paper in the places where a plate, cup, and napkin would be in a place setting. Glue them in place.

Step 2
Look through your food magazine pictures and find 4-6 pieces of food you would like to include on your plate! You can look for Thanksgiving foods, or just any foods you like. Cut out each food picture, arrange them on the plate (large circle) and glue them in place.

Step 3
On the back of your silver scrapbooking paper, draw a spoon, a knife and a fork. Cut out these shapes. Flip them over and glue them onto your placemat on the sides of your plate.

Step 4
If you want, you can use a black marker to label the parts of your place setting. I labeled the plate, cup, napkin, fork, knife and spoon. This is a great way to bring some literacy and vocabulary into your crafts and play!
Step 5
Use clear contact paper to laminate your placemat. Begin by unrolling a large piece of contact paper that is bigger than your placemat. Peel off the paper backing, and carefully stick your placemat onto the sticky side of the contact paper. Cut a second large piece of contact paper and peel off the backing.
Slowly press this down on top of your placemat and smooth with your hand as you go. When you’ve sealed your placemat, trim around the edges leaving a small border. Now, your placemat is protected to use with real food!

