HANUKKAH CRAFTS FOR KIDS
Share
Here at Kid Made Modern, we want to help make the eight happy days of Hannukah extra memorable by sharing craft ideas for the whole family! What better way to celebrate the festival of lights than with these bright and illuminating works of art? We have all the tools you need for a fabulous holiday of crafting, whether you’re making gelt pockets, menorah necklaces or more! Here’s a list of kid’s Hanukkah crafts that will fill each night with artistic family fun!
Skip to section
DIY Hanukkah countdown crafts.
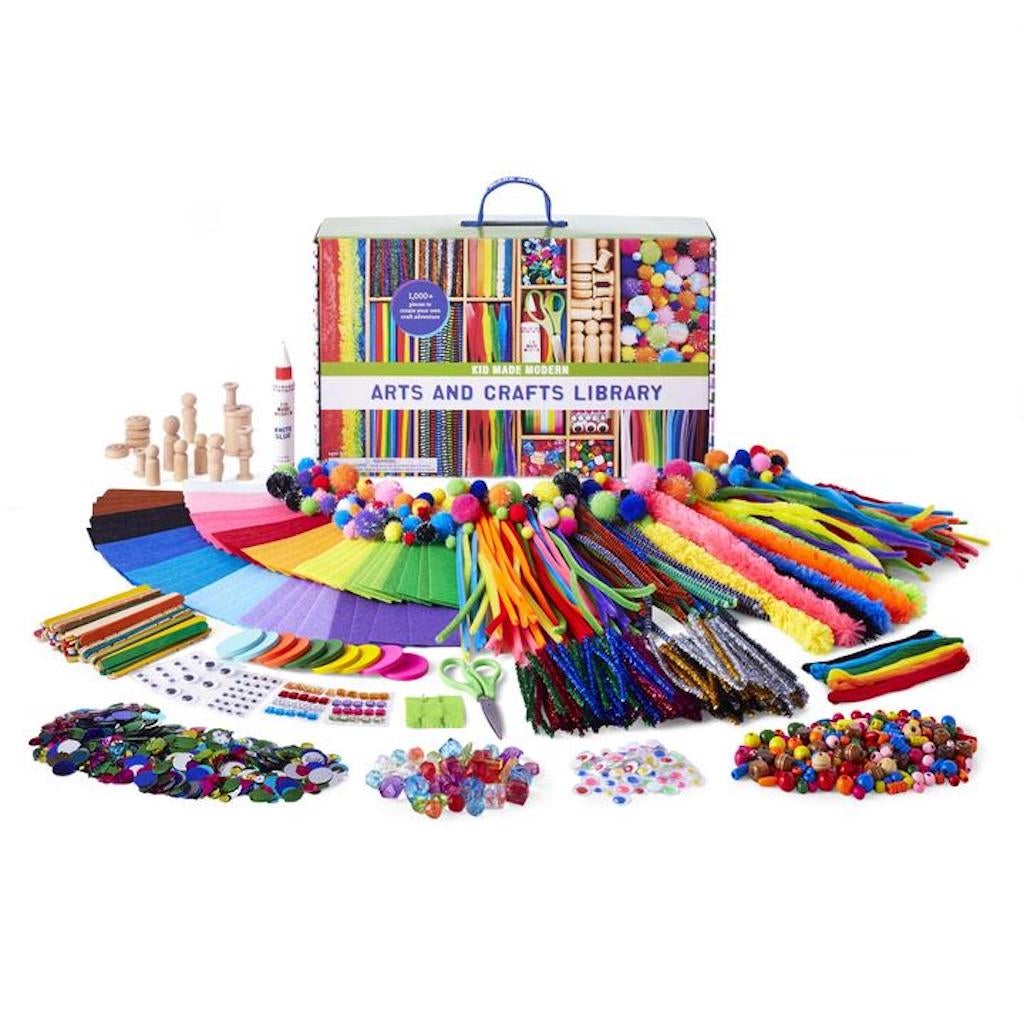
Gelt is the chocolate “money” that makes for a sweet Hanukkah treat — and a sweet prize during a traditional game of Dreidel. Using our Kid Made Modern Arts and Crafts Supply Library, make eight felt dreidel pockets — one for each night of Hanukkah. Put a chocolate gelt into each pocket, and each night you’ll have another delicious gift to discover!

Using eight felt rectangles from the Arts and Crafts Supply Library, follow these steps to create your pockets:
Step 1: Fold all eight pieces of felt a little less than halfway down and glue just the sides to make a “pocket”. The next requires the use of scissors and might require a bit of adult supervision.
Step 2: Using scissors, cut the top edge, leaving a small sliver of felt in the middle as the handle.
Step 3: Cut off the bottom 2 corners and glue the edges to form a dreidel shape. Cut the numbers one through eight from felt and glue them onto the dreidels, or have your kiddo form the numbers from fuzzy sticks and then glue them on.
Step 4: Glue string to the backs of each felt dreidel. Thread beads onto the strings, attach strings to a stick, and hang horizontally on the wall! All that’s left to do is stuff the felt with chocolatey gelt, and you’ve got a delicious craft that’s second to ‘nun’.
Click here to find the full directions to the DIY Hanukkah Countdown.

DIY Hanukkah Banner
Give your Hanukkah celebration a pop of color by mixing things up with a chromatic Hanukkah banner. Dig into the Arts and Crafts Supply Library to find all the materials you’ll need for this colorful craft. Here’s some step to get you started:
Step 1: Use different colors of fuzzy sticks to create the letters. Bend, twist, and glue 2-3 fuzzy sticks together to make each letter, and spell out “Hooray for Hanukkah!”
Step 2: With an adult supervising, thread a needle with string. Thread about five colorful pom poms onto the string. Weave the string in and out of the fuzzy stick letters, then thread more pom poms onto the other end.
Step 3: Finally, glue or tie the string around the top of the letters to make the garland! You’ll have a fabulous banner to help ring in the celebrations.

Click here to find the full directions to the DIY Hanukkah Banner.
Menorah Necklace
This Hanukkah, you can wear your celebration with this adorable menorah necklace. For this stylish craft, you’ll need materials from Kid Made Modern’s best-selling Jewelry Jam Craft Kit, plus a hot glue gun and scissors. This craft requires adult assistance. Also, if necklaces aren’t the favorite family style, this menorah craft can be easily adapted into a pin, hair piece, or even a tie clip!

To start, follow these steps:
Step 1: String nine yellow beads from the Jewelry Jam Kit onto the blue thread.
Step 2: Cut out small, thin rectangles from the blue felt. Cut out eight 1 inch strips, and one 2 inch strip — these will become your candles! Hot glue each of the “candles” onto the yellow beads.
Step 3: Use a white or dark blue felt strip and cut it to half its width. This will be the horizontal part of the menorah.
Step 4: Arrange and hot glue each of your candles onto the piece of felt you just cut. You have a magnificent menorah ready to wear! Add additional beads and tie the necklace to complete the look.
Click here to find the full directions to the DIY Hanukkah Menorah Necklace.

Popsicle Stick Menorah
This Popsicle Stick Menorah is a fun and easy craft for younger crafters. When you’re eating your frozen sticks, save your sticks! Or, use the Jumbo Craft Sticks from My First Arts and Crafts Library to get started.

You’ll also need glue, yellow pom poms or construction paper, and if you want to paint your menorah candles, the Kid Made Modern Washable Paint Set.

How to get started:
Step 1: Paint your menorah candles first. Make each popsicle stick a different hue and create a colorful candle display. You’ll need to paint a total of about thirteen popsicle sticks to create one menorah.
Step 2: Assemble your menorah. Glue two popsicle sticks together horizontally to create the base. Glue four popsicle sticks to each side of the base. Then, glue a ninth popsicle stick slightly higher onto the middle of the base to create the “shammash”, or helper candle.
Step 3: Light your menorah! Cut out small flame shapes from yellow construction paper, or glue yellow pom poms to the top of each candle. You’ll have a mini-menorah that stands out from all the rest!

Image source: northtexaskids.com
From menorahs to dreidels, your Hanukkah will be extra happy this year with the help of these colorful crafts. As you spend each night celebrating the festival of lights, you can light up the night with artistic inspiration! Chag Hanukkah Sameach, and happy crafting!
