
Layered Canvas DIY
We've long admired the gorgeous pieces of collaborative art families have made following the Art Pantry's Family Canvas Challenge. So we were inspired to try and use the wide range of awesome art tools in our Studio in a Box kit to make our own mini version! It's such a fun way to try out different art processes over time -- stopping whenever you feel your canvas is complete. Take a peek at our tutorial below, adapt and adjust as you like, and then start your own!
Materials:
- KMM Studio in a Box kit
- scissors
- glue
Steps:

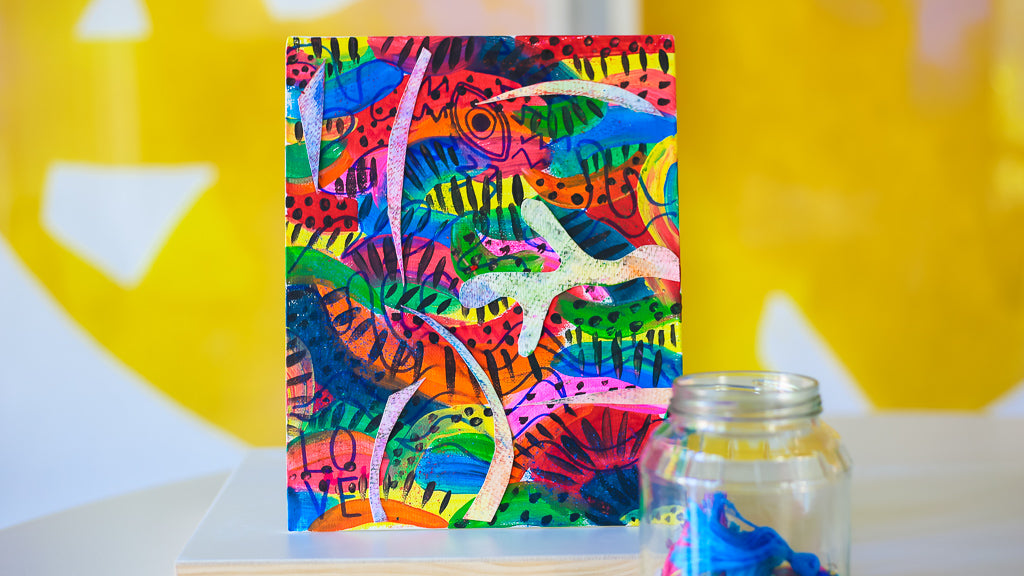
1. Paint the first layer -- pick one of the canvas boards from the kit and use acrylic paints to paint your first layer. You can cover as much of the canvas as you like, but we think the layering looks best when you paint a significant portion first.

2. Mark it up -- use the markers from the kit to add detail and designs over your first layer.


3. Add watercolor shapes -- use the kit's watercolors to paint designs onto the watercolor pad paper. Once dry, cut the watercolor paper into various shapes. Then glue those on to the canvas.

4. Texturize with crayons -- hold a crayon from the kit flush with the canvas and rub on to add texture in various areas. Consider whether you're done or if you'd like to add more layers. Keep or give away as a great gift!