Mixed-Media Pumpkin Patch Craft
Share
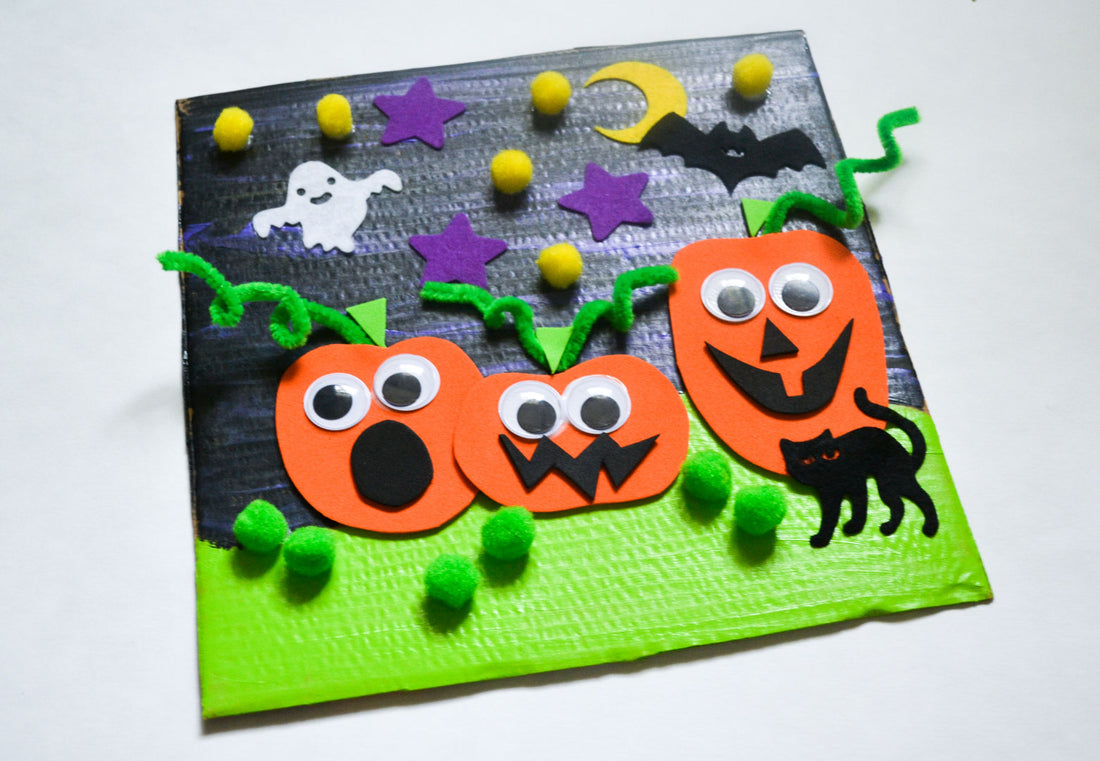
I love working on mixed-media art projects with my kids. We always find so much joy in each step of the process and they are so excited to see the final product come together. For this project, we put the leftover pieces from our Jack-O-Lantern Decorating Kit to good use to create a spooky pumpkin patch scene!

Supplies Needed:
- Jack-O-Lantern Decorating Kit
- Scissors
- Green Fuzzy Sticks
- Glue

Instructions
Step 1
Cut the lid off of the box to your Jack-O-Lantern kit. Cut the flaps off of the sides of the lid so that you have a cardboard square. This will be the base of your project. Use the acrylic paint and paintbrush from the kit to paint a background with a green ground and black/purple sky.

Step 2
Once your paint has dried, cut pumpkin shapes from the orange foam in the kit. Peel off the backing and stick these onto the grass in your scene. Cut some small triangles from the green foam and add these to the tops of the pumpkins as stems. Add some of the felt stickers to the surrounding area to decorate - we used a moon, some stars, a ghost, bat, and cat.

Step 3
Use glue to add some final details to your scene! We glued googly eyes onto each pumpkin, and cut mouths from the black foam. Bend some green fuzzy sticks into vines and glue these to the tops of your pumpkins. Add pom poms from the kit to the grass and sky to finish off your artwork.

Emily Limer is a mom of three and teacher from North Carolina. She loves getting creative with her kids - at home and school - and has a passion for creating with recycled materials!
