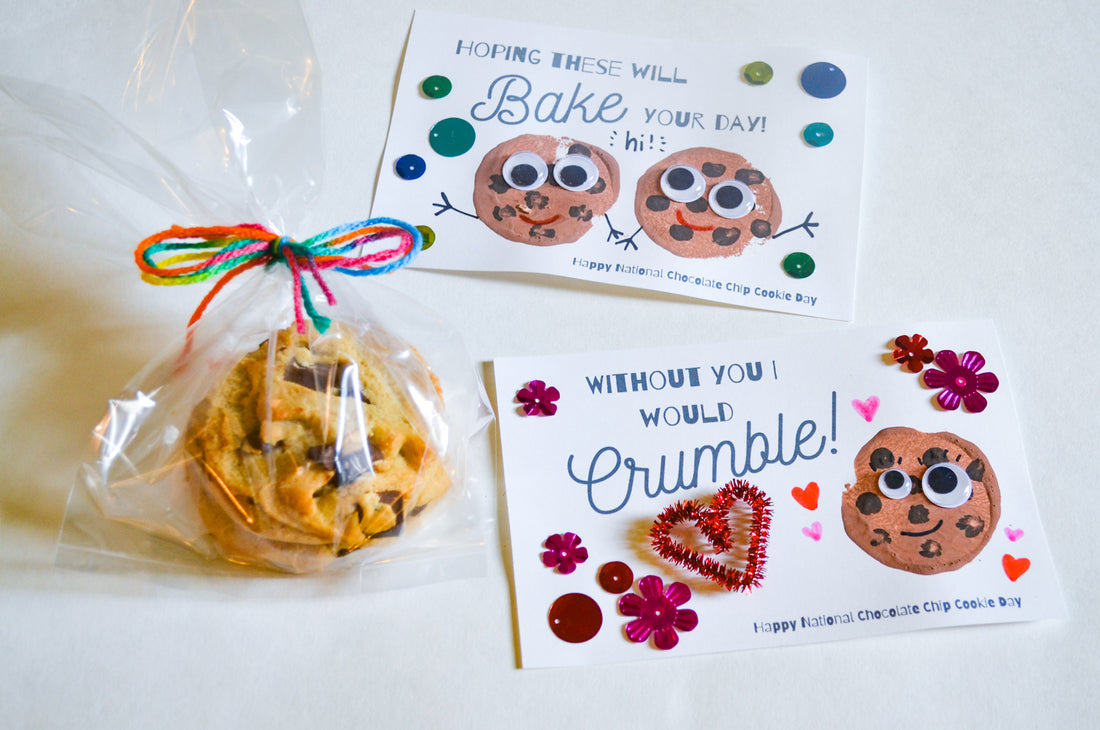
National Chocolate Chip Cookie Day Card DIY
Share
Two of my favorite things to do with my kids are crafts and baking. We always manage to bond and have a good time together and I love that they are learning and growing the process. Cookies are always a favorite of theirs - there is something about using the mixer that kids just can’t get enough of! Their smiles are worth a little flour on the floor as we work.
This month we celebrate National Chocolate Chip Cookie Day! What better opportunity to do some baking and creating together. Using our Cookie Card template, some paint, and supplies from your Arts and Crafts Library, you can create these super cute cookie cards to share with someone you love! Bake up a batch of your favorite cookies to go along with them and enjoy an afternoon of fun with your little bakers.
Materials Needed:
- Cookie Card Printable
- Cardstock paper
- Scissors
- 1 wood disk
- 1 spool
- 1 felt piece
- Glue (you can use a hot glue gun)
- Brown, black, and white paint
- Cotton swabs
- Googly eyes
- Sequins
- Permanent markers

Instructions:
Step 1
Print the Cookie Card templates on cardstock paper. To make them smaller, print 2 cards per sheet of paper. Cut out the cards you would like to use!

Step 2
Create a cookie stamp using a wood disc, spool, and piece of felt from your Arts and Crafts Library. First, glue the spool onto one side of the disc (I would recommend hot glue for a faster drying time!). Next, glue a piece of felt onto the other side of the disc. Use scissors to trim the extra felt around the edge of the disc.

Step 3
Add some cookies to your cards! First, mix brown and white paint together to create a light brown for your cookie. Dip your cookie stamp into your light brown paint and wipe off any excess. Press your stamp down onto your card to create cookies! Next, mix some black and brown paint to make a dark brown for your chocolate chips. Use a cotton swab dipped in the paint to make small dots on each cookie.

Step 4
Once your paint dries, you can decorate your cookies! We decided to give ours arms and googly eyes which ended up being super fun! A permanent marker is a great way to add some of those details. The googly eyes from the Arts and Craft library are adhesive so they were easy to add as well!

Step 5
As a final step, you can glue on sequins to give your cards some sparkle! Once they are dry they are ready to give as a gift!

My kids and I loved creating these cards and baking cookies together! But the real joy was watching them decide who they wanted to share their cookies and cards with. This project is a wonderful way to practice gratitude with your kiddos and to help them think about all of the people they love and appreciate. We hope you enjoy it as much as we did!
Emily Limer is a mom of three and teacher from North Carolina. She loves getting creative with her kids - at home and school - and has a passion for creating with recycled materials!
