Yule Log Ornament DIY
Ingredients:


- 1 Sheet of Yellow Felt
- 1 Sheet of Brown Felt
- Green Embroidery Floss
- 5 Yellow Fruit Slice Beads
- Baby Powder
- Brown Colored Pencil
- 1 Large Green Flower Sequin
- Three Small Round Red Beads
- 1 Small Square of Cardboard
- 1 Small Square of Tin Foil
Instructions:

1. Cut a small rectangle out of the cardboard and save the remaining material.

2. Gently roll the rectangle into a tight burrito to bend the cardboard into a low arch.

3. Cut two shallow half circle shapes from the leftover cardboard to create the “ends” of your yule log.

4. Glue the half circles to the short ends of your yule log.

5. Use the brown colored pencil to draw “rings” ends of your yule log.

6. Cut a small square from some of the remaining cardboard and roll it into a very tight burrito.

7. Cut one of the ends of the rolled-up cardboard at a 45 degree angle to create a short “branch.”

8. Glue the branch to the side of your yule log.

9. Use the last of your remaining cardboard to cut out a long oval shape just a little larger than your yule log to create your “plate.”

10. Cover the plate in tin foil and glue the log down onto it.

11. Cut your entire sheet of brown felt into long, skinny, wiggly shapes to create the “woodgrain” for your log.

12. Glue the felt woodgrain along the sides of the yule log and its small branch.

13. Glue short, narrow strips of yellow felt to the bottoms of each of the yellow fruit slice beads to create your mushrooms.

14. Glue the mushrooms randomly on the surface of your yule log.

15. Cut the large flower sequin into three, creating three sets of holly “leaves.”

16. Glue the leaves down randomly on the surface of your log, then glue down the red beads onto the pointed end of the holly leaves to create little bunches of holly.

17. Cut a small amount of the green embroidery floss into very small pieces to create “moss.”

18. Glue down your moss randomly on areas where the log meets the plate.

19. Lightly dust your creation with baby powder to create a “powdered sugar” effect.

20. Glue the ends of a length of embroidery floss under the plate on either side of the log to allow you to hang your new yule log ornament on your tree!
* * *
* * *
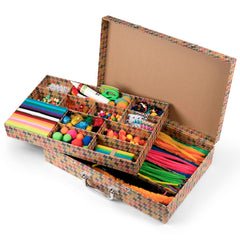
Gather your ingredients together with our Arts and Crafts Library!