
DIY Water Cycle Model
This water cycle model is the perfect creative project for celebrating spring and Earth Day! The water cycle, or hydrologic cycle, describes the movement of water on, above, and below the surface of our planet. It’s an incredibly important process as it provides water for all living organisms and regulates the weather patterns as well.
There are four main stages of the water cycle: evaporation, condensation, precipitation, and collection. Climate change impacts each of these stages. This model helps illustrate how each stage connects to the next and shows kids how a negative impact at one spot in the cycle will affect all of them. And, vice versa, they can see how protecting our environment and keeping each stage of the cycle healthy will help all of us!
Materials:
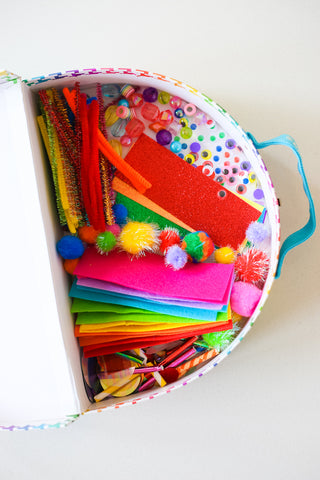
- Over the Rainbow Craft Kit
- Recycled shoe-box or cardboard box with a top and bottom -- the Rainbow Craft Kit box actually works perfectly!
- Craft/tissue paper, markers, or paints
- Hot glue gun
Directions:
Step 1 - Plan Your Model
Open your shoebox or fit your box bottom and top together to create a stand up scene. Take a look at the kit’s materials and decide how you’d like to use the contents to show the four water cycle stages.
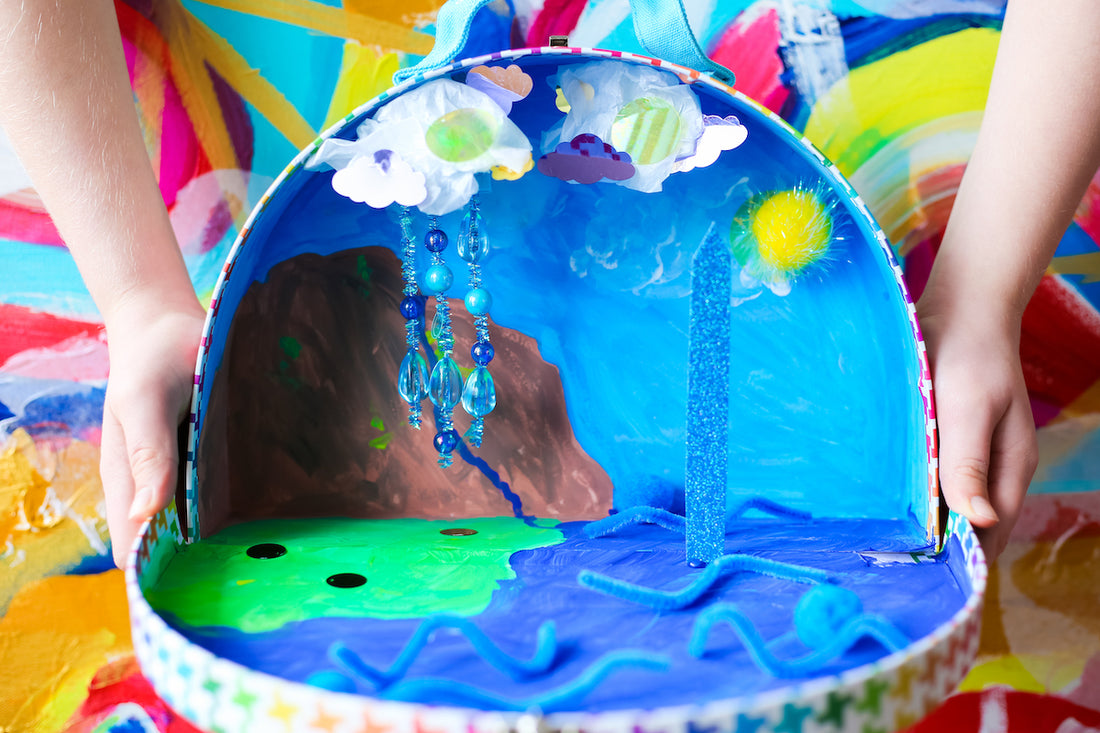
- Evaporation - Warmth from the sun causes water on the earth’s surface to turn into vapor and rise into the atmosphere. Try showing evaporation by using light blue fuzzy sticks or cut an arrow out of sticker paper.

- Condensation - As the vapors rise higher where the atmosphere is cool, they condense to form clouds. Use some colorful poms (who says clouds have to be white?!) or iridescent paillettes on top of crumpled paper to make clouds.

- Precipitation - When clouds become saturated, the water returns to earth as rain, snow, hail or sleet. A strand of beads or raindrop paillettes work well to show precipitation.

- Collection - Water falling onto the earth collects together into puddles, streams, rivers, lakes, and oceans. Make some water bodies out of felt or sticker sheets, pom poms, or even fuzzy sticks.

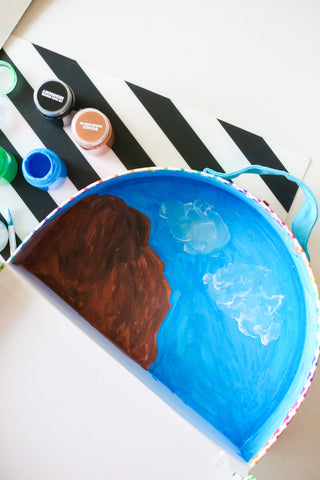
Step 2 - Create a Backdrop
Use craft paper, markers, or paint to create a backdrop inside the box for your water cycle.


Step 3 - Build Your Water Cycle
Use a hot glue gun to build and attach your water cycle features to the backdrop. You can label the various stages if you’d like.

1 comment
This project is really cool and very creative, Love the colors you chose and kudos for the labor i’m sure you put into it !